How to Can Pickled Beets Using Salt
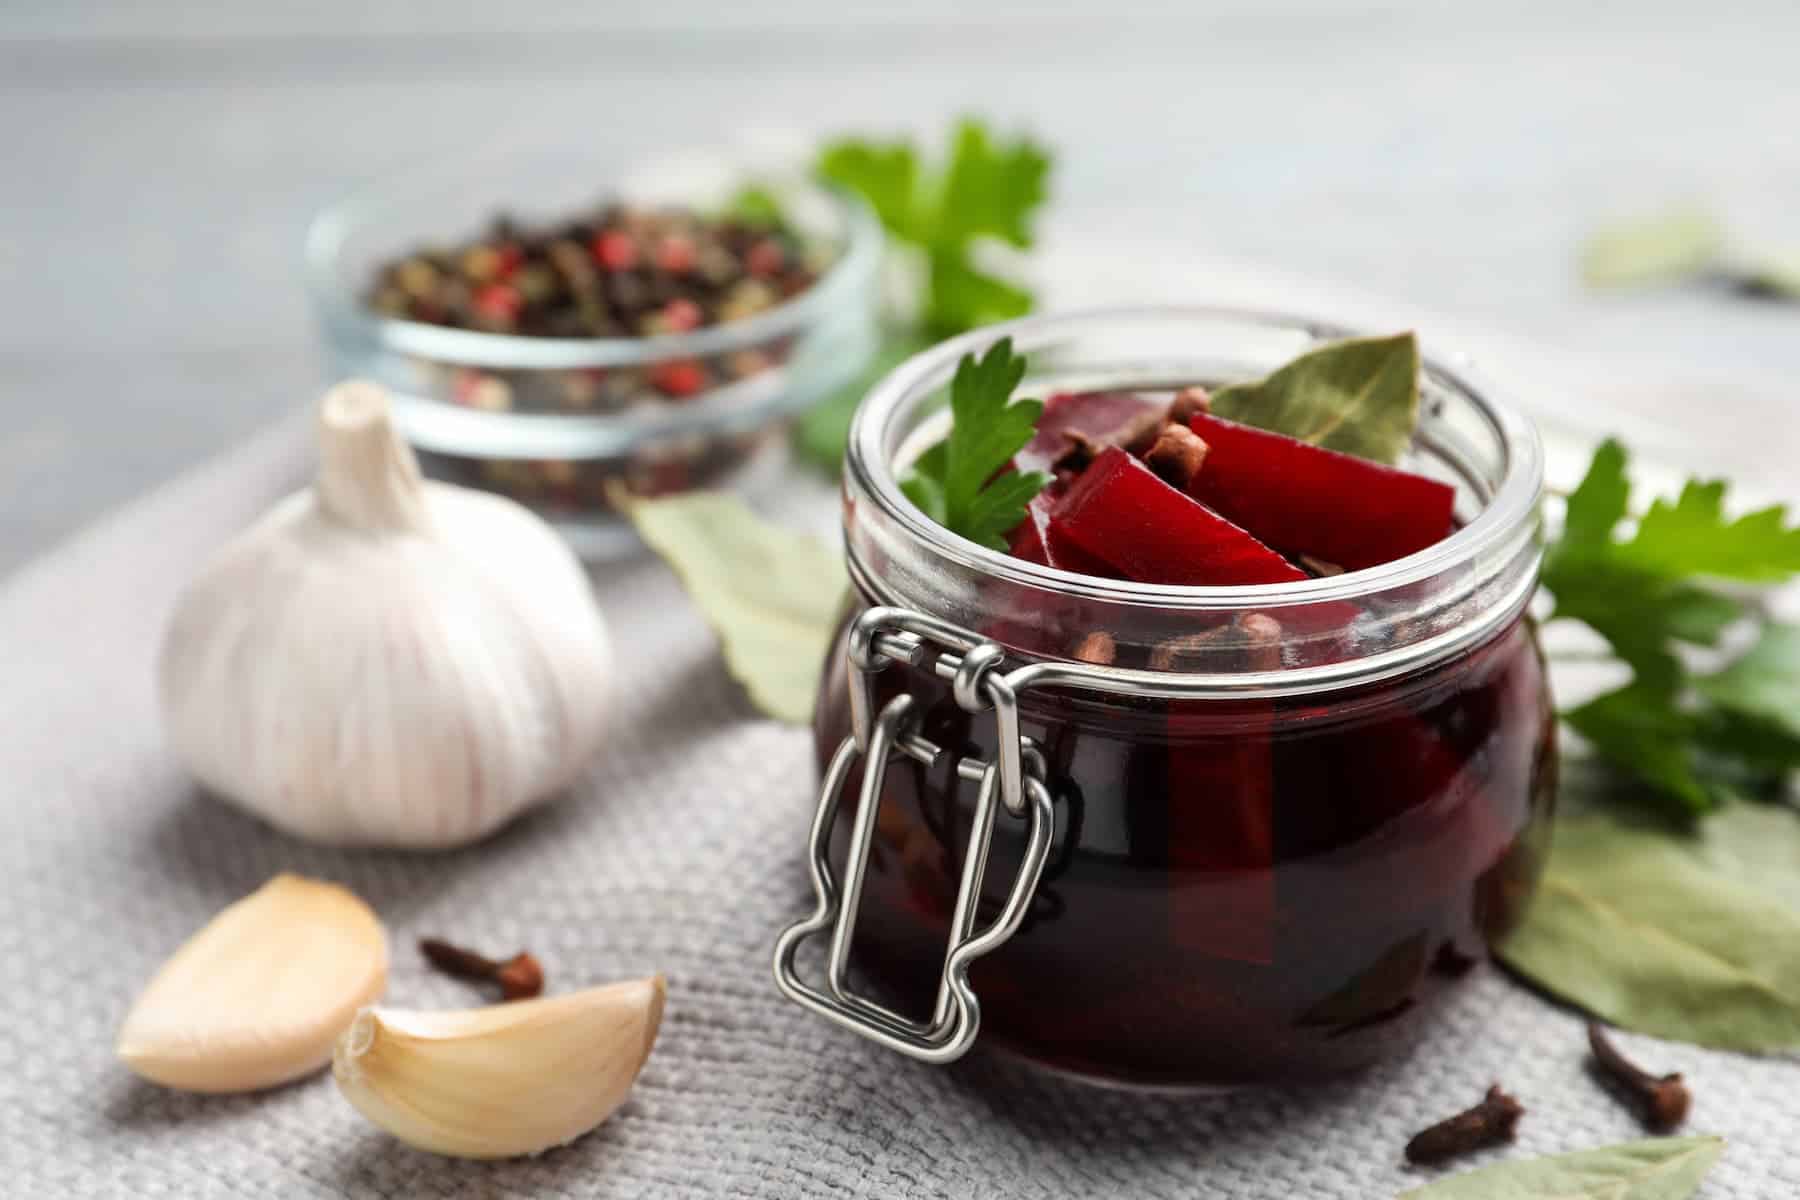
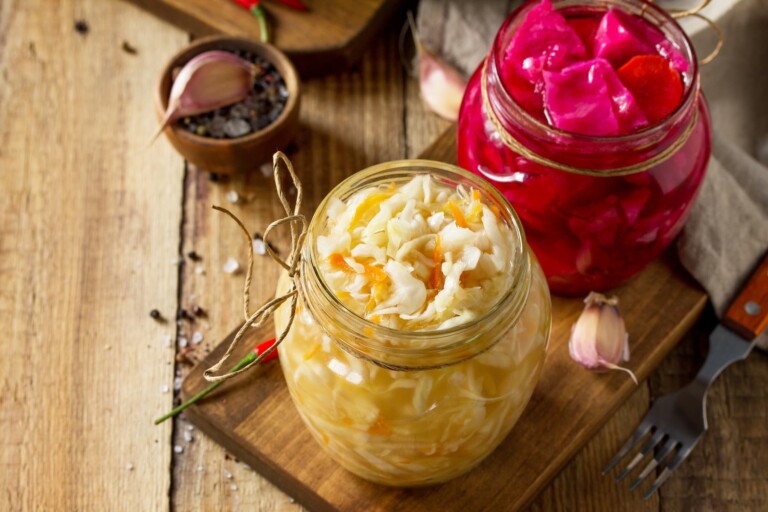
Pickled beets using salt are a delightful addition to your pantry, offering a burst of sweet and tangy flavor that can complement salads, and sandwiches, or simply be enjoyed as a standalone snack.
While traditional pickled beet recipes often include sugar, you can also create a scrumptious batch using salt as the primary preservative.
This method not only preserves the beets but also adds a savory twist to this classic treat. So instead of using sugar, you use salt as a preservative when canning pickled beets.
Pickling is a preservation method that involves immersing food items, such as beets, in a solution of vinegar, salt, and sometimes sugar and spices.
The combination of vinegar and salt creates an acidic environment that inhibits the growth of spoilage microorganisms and pathogens, helping to preserve the beets for an extended period.
If you’re like me and prefer the savory notes of salty pickled beets over the sweetness of sugary ones, you’re in for a delightful treat with this recipe.
In this article, I’ll guide you through the process of canning pickled beets using salt.
Tips for Success
Here are some tips for success when canning pickled beets using salt:
Select fresh, firm beets that are free from blemishes or bruises. The quality of your ingredients is crucial to the final taste and texture of your pickled beets.
These tend to have a milder flavor compared to larger ones. This makes them well-suited for pickling, as they absorb the pickling flavors more readily.
Smaller beets are also easier to handle and cook faster, which can be advantageous if you’re looking for a quicker pickling process.
Ensure your canning jars, lids, and bands are thoroughly cleaned and sterilized before use. This helps prevent contamination and ensures a safe, long shelf life for your pickled beets.
Leave about 1/2 inch of headspace at the top of each jar when packing your beets. This space allows for proper expansion during processing and helps create a strong seal.
When making the brine, use non-iodized pickling salt. Iodized salt can lead to cloudy brine and affect the quality of your pickled beets.
Don’t be afraid to get creative with your pickling spices. Try different combinations of whole spices like mustard seeds and coriander seeds to enhance the flavor to your liking.
After filling the jars with beets and brine, use a non-metallic utensil or a bubble remover tool to release any trapped air bubbles. This helps maintain a tight seal.
By doing so you can minimize the risk of any remaining dirt or contaminants that might upset your stomach. It’s important to follow good food safety practices to ensure that your pickled beets are safe to eat.
Before placing the lids on the jars, wipe the rims with a clean, damp cloth to ensure a proper seal. Any residue or salt crystals on the rim can prevent a good seal.
Adjust the processing time according to your altitude. The higher your altitude, the longer you may need to process the jars to ensure they are properly sealed and preserved.
After the jars have cooled, check that each lid has sealed properly by pressing the center of the lid; it should not flex. Label your jars with the date and contents for easy identification.
Store your sealed pickled beet jars in a cool, dark, and dry place. A pantry or cellar is ideal. Be sure to keep them away from direct sunlight and extreme temperature fluctuations.
While pickled beets can be enjoyed soon after canning, their flavor often improves with time. Allow the jars to sit for a few weeks or even months to develop the best taste.
Keep a record of your canning process, including the recipe, processing times, and any adjustments you made. This can help you replicate your successful batches in the future.
Additionally, when handling beets, wearing gloves is advisable to prevent discoloration of the hands.
Peeling Beets Before vs. After Cooking
Peeling beets before or after cooking is a matter of personal preference, and both methods are commonly used. There are advantages to each approach, so you can choose the one that best suits your needs and preferences:
Peeling Beets Before Cooking:
- Easier to remove the skin when the beets are raw, as it often slips off more readily.
- This may result in slightly shorter cooking times, as the skin does not insulate the beets.
- Useful if you want to cube or slice the beets before cooking them for a specific recipe.
Peeling Beets After Cooking:
- Beets can be boiled, roasted, or steamed with the skin intact, which can help retain more nutrients.
- Cooking beets with the skin can result in a slightly sweeter flavor and a more vibrant color.
- Peeling after cooking can be less messy, as the skin tends to come off more cleanly when cooked.
Ultimately, the choice depends on your preference and the recipe you’re following. If, like me, you prefer to peel the beets after cooking, you can boil them with the skin on and then easily remove them after they’re cooked.
Just make sure to allow the beets to cool slightly before peeling, as they can be quite hot immediately after cooking.
How to Prevent Jar Breakage During Canning
Canning jars can crack when pouringhot brine over the beets, but the risk can be minimized with proper handling.
Here are some tips to prevent jar breakage:
- Use High-Quality Canning Jars: Use canning jars specifically designed for canning and preserving. These jars are made to withstand high temperatures and are less likely to crack compared to regular glass jars.
- Ensure Jars Are at Room Temperature: Do not pour hot liquid into cold jars or vice versa. Make sure the jars are at room temperature before pouring in the hot brine. You can achieve this by either warming the jars slightly or allowing them to come to room temperature naturally.
- Heat-Proof Jars: Ensure that the jars you’re using are heat-resistant and suitable for canning. Mason jars and canning jars are designed for this purpose, whereas some other glass containers may not be suitable for high-temperature canning processes.
- Use a Ladle: When pouring the hot brine into the jars, use a ladle or a canning funnel. This helps control the flow of the liquid and minimizes the risk of splashing or uneven pouring.
- Leave Adequate Headspace: Ensure that you leave the recommended amount of headspace (usually 1/4 to 1/2 inch) at the top of the jar. Adequate headspace allows for expansion and contraction during the canning process.
- Avoid Sudden Temperature Changes: After filling the jars, avoid placing them on a cold surface or exposing them to a draft. Sudden temperature changes can cause thermal shock, potentially leading to jar breakage.
By following these precautions and handling the jars carefully when pouring hot brine over the beets, you can significantly reduce the risk of jars cracking during the canning process.
Pickled Beets
Equipment
- 1 Large pot for boiling water
- Canning jars (various sizes depending on your preference)
- 1 Canning funnel
- 1 Jar lifter
- 1 Lid lifter or magnetic lid wand
- Clean towels or dishcloths
- 1 Cutting board and knife
- 1 Vegetable peeler
- 1 Large mixing bowl
Ingredients
- 26 ounces fresh beets, preferably smaller ones
- 1/3 cup apple cider vinegar
- 9 cups of water
- 1 tbsp of salt (non-iodized salt is recommended)
- Optional whole spices (such as mustard seeds, coriander seeds, etc.)
- 1 whole garlic bulb, cut in half
Instructions
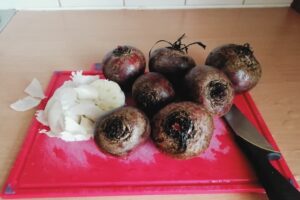
- Place the beets under cold running water and use a scrubbing brush or your hands to thoroughly scrub the dirt and debris from their surfaces. Pay special attention to the crevices around the stems and root ends.
- With a sharp knife and a clean cutting board, trim the tops and roots of the beets. Make sure you leave about one inch of stem attached to prevent bleeding of color during cooking.

- Place the cleaned and trimmed beets into a large pot. If you're pickling a large batch, ensure the pot is large enough to accommodate all the beets comfortably without overcrowding.
- Add the apple cider vinegar, water, salt, and the garlic bulb (cut in half horizontally) to the pot with the beets. If you like, you can also include any optional whole spices.
- Bring the mixture to a boil, then reduce the heat to a simmer.
- Cook the beets in the seasoned liquid until they are tender when pierced with a fork. This usually takes around 25-30 minutes, depending on the size of the beets.
Pack the Jars
- While the beets are simmering, sterilize your canning jars, lids, and bands by boiling them for 10 minutes or using a dishwasher with a sanitizing cycle.
- Carefully remove the hot jars from the boiling water using jar lifters.
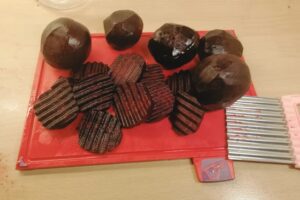
- Cut the beets in any shape you like.
- Using a canning funnel, pack the prepared beet slices into the hot, sterilized jars, leaving about 1/2 inch of headspace at the top.
- Remove the garlic bulb from the brine.
- Pour the hot brine over the beets in each jar, maintaining the same 1/2 inch of headspace.
Seal the Jars
- Remove any air bubbles in the jars by gently tapping them or using a non-metallic utensil.
- Wipe the jar rims with a clean, damp cloth to ensure a clean seal.
- Place sterilized lids and bands on the jars, screwing them on until fingertip-tight. Don't over-tighten.
Process the Jars
- Gently submerge the filled and sealed jars in a boiling water bath canner, ensuring there is enough water to cover the jars by at least 1 inch.
- Bring the water to a boil and process the jars for about 30-40 minutes, adjusting the time for your altitude if necessary.
- After processing, turn off the heat, remove the canner lid, and let the jars sit for 5 minutes.
- Using the jar lifter, carefully remove the hot jars from the canner and place them on a clean towel or cooling rack to cool completely.
Store Your Pickled Beets
- Ensure that the lids have sealed properly by pressing down on the center of each lid; if it doesn't flex, the jar is sealed.
- Label your sealed jars with the date and contents.
- Store your canned pickled beets in a cool, dark, and dry place for up to a year. Unsealed jars or those with compromised seals should be refrigerated and consumed within a few weeks.
Notes
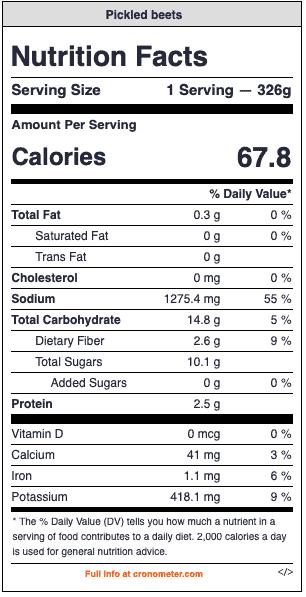
*These nutrition facts were retrieved from Cronometer with permission. Please note that nutritional values are estimated using an ingredient database and should be considered approximate. When multiple ingredient options are provided, the nutritional content is based on the first listed. Garnishes and optional ingredients are not factored into the calculation.
Conclusion
Canning pickled beets using salt is a rewarding and flavorful culinary venture. By following the steps outlined in this guide and keeping these tips in mind, you can create a batch of delicious pickled beets that not only add a burst of savory tang to your meals but also stay preserved for an extended period.
With a little creativity in selecting spices and seasonings, you can tailor your pickled beets to your taste preferences.
So, whether you’re aiming to enhance your pantry’s diversity or seeking a thoughtful homemade gift, this method of pickling beets with salt is a delightful and satisfying endeavor.
Enjoy the rich flavors and the convenience of having these pickled beets on hand for various culinary adventures. Happy canning and savoring!

Linda is the co-founder of Courier Wellness and holds a Diploma in Natural Health Nutrition & Diet. Her passions include photography, food, and travel, where she derives inspiration from diverse cultures and their holistic approaches to well-being. She is committed to helping others make informed, nourishing choices for a healthier life.